Hello all,
Today I am unboxing and assembling Bolt Actions Wittman's Tiger. I must say from the second I saw the package on my doorstep I was leaping with excitement. I just finished assembling the M5 Stuarts for my Americans the other night, and I was desperate to see how the Tiger Compared.
From the very beginning I must start with the detail is amazing. The packaging is amazing. It is December 15th, but Christmas just arrived for me today! When you pick up the package the first thing you say to yourself is, Oh Man is this heavy!
The art on the box is nice to look at and the story on the back about Michael Wittman is a nice short read.
This is the front of the package.

This is the back of the package


The tank is very simple to assemble. My casting was perfect, it took only about 7 minutes to clean up the excess resin off of the casting.
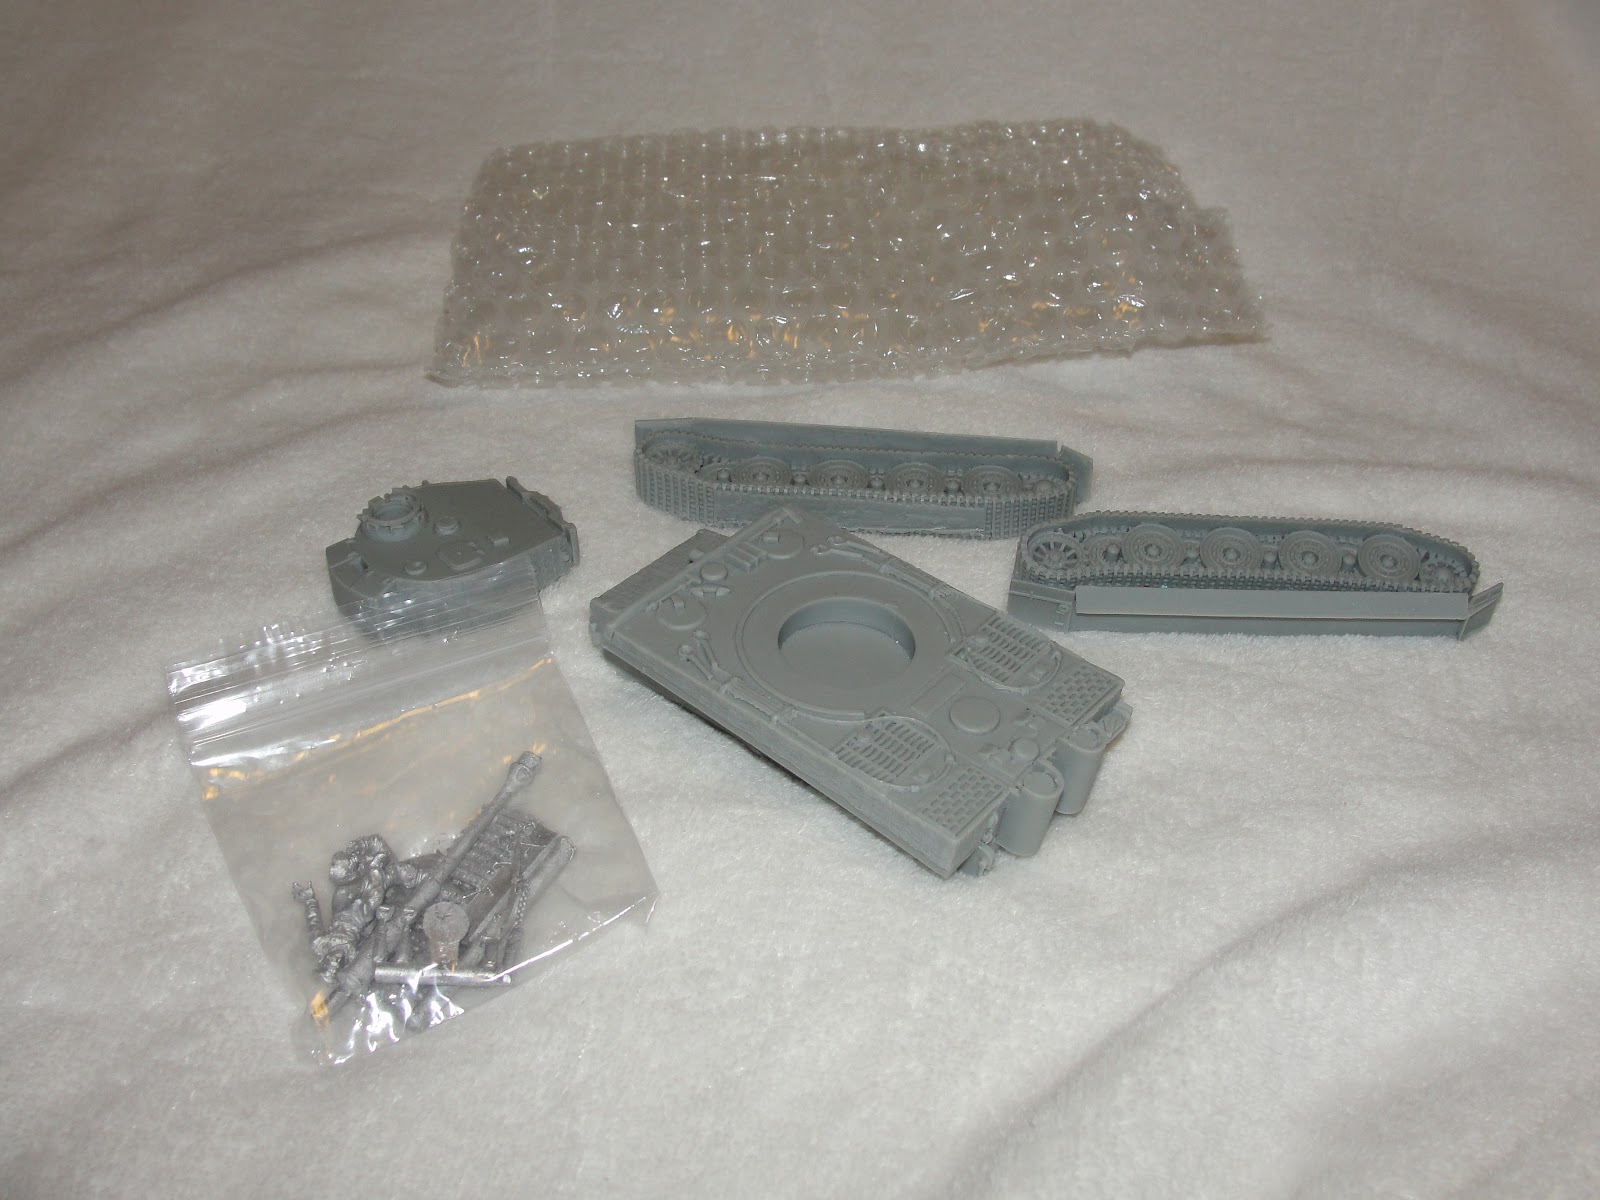
As you can see there are 4 parts. The hull, 2 tracks, and the turret.

Inside the ziploc you find your two choices of Model for Witmann himself, the Gun Barrel, and two sprues. One contains the optional tank tracks to customize the tank with. The other contains the small needed bits for final assembly of the tank.

Here is the full amount of cleanup required for the turret. (Virtually non-existent.)

I had the hull together in about 20 minutes.

The turret sets in place perfectly. I am getting excited, the tank will feel complete as soon as I glue the main gun on!

Here it comes.....

Hah I have a TIGER!! Ok so I glued the barrel on, held it in place for about a minute, and then propped it up vertically for about 20 minutes to let it cure properly without straining the connecting point.

On the front of the hull you can see where the two headlights and the MMG were glued into place. There was no hole in the MMG slot for the MMG so I just took my exacto knife and picked a point inside the mantle and just started spinning it. It made a perfect sized hole to place the MMG into. I also had to widen the holes for the headlights in the same fashion ever so slightly.

Finally I slapped on the extra tank tread on the front of the hull and one side of the turret and voila! She is done. I now am going to order in my special magnets from KJ magnetics to make sure this turret spins nicely and never falls off accidentally!
Have a great day and thanks for reading
-PPS
No comments:
Post a Comment
Please be cordial!